How annoying is it to find the PC is slowed down or heated too often? You might have tried some soft tweaks, but it did not work out! Check if the vents got jammed. The idea of using a vacuum to clean your PC might pop up in your mind, but is it safe to vacuum your PC? Let’s see what our experts say!
Can I Use A Vacuum To Clean My PC?
Table of Contents
NO, You Shouldn’t!
Using a vacuum cleaner can damage your PC in many ways you can imagine. This scenario is highly likely if you have been using a PC for years but never thought of cleaning it. As a result, dust piles might nest into your PC vents, turning them into a working tortoise. I guess it’s time to be patient and clean up the PC, but one thing you should keep in mind: avoid using a vacuum whatsoever. Cleaning a PC with a household vacuum cleaner can be hazardous for your PC. The suction power of a vac can damage the components inside, including the fans, resulting in costly repair or unrepairable damage.
Can I Vacuum The Outside Of My PC?
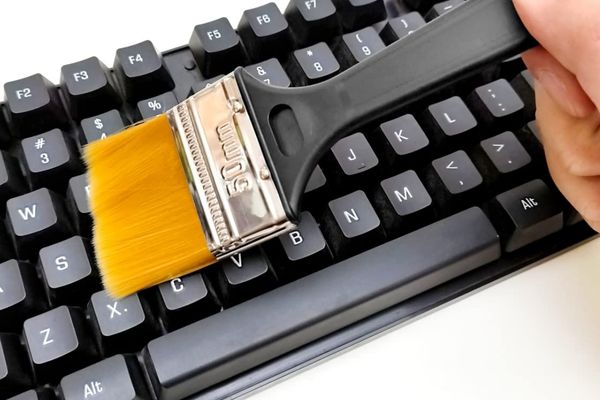
No, using a vacuum cleaner to clean the outside of your PC is also not recommended, as it can damage the keyboard, and the outer edges may get scratched. Instead, you can use a portable mini bristle brush set to remove fine dust from the keyboard and its button edges. To clean up the screen, you may use soft microfiber cloths.
How Can I Remove Dust From My Laptop: Step-By-Step
The reason behind the PC isn’t properly working may not be technical all the time; it could be the dust. If you don’t clean your laptop regularly, its performance may be lower day by day. Let’s see how can you remove dust from your laptop step by step.
Laptop Dust Cleaning- Outside
Laptop Screen Cleaning:
- Step 1: Gather Cleaning Material: You’ll need soft microfiber clothes and a computer-safe cleaning solution to clean your laptop screen.
- Step 2: Spray on the Microfiber Cloth: Don’t spray directly on the screen; it may cause damage to internal components if the liquid is soaked inside. Instead, apply the spray on the microfiber cloth and make it damp. After that, start wiping the screen gently to remove the residuals.
- Step 3: Leave the Screen: Once you remove all the dirt and spots from the screen, leave it for a few seconds. Meanwhile, you can start cleaning the keyboard section of your laptop.

Laptop Keyboard Cleaning
- Step 1: Use A Mini Bristle Brush Or A Can Of Compressed Air. If the accumulated dust residuals are older and hard to remove with a mini-bristle brush, then gently apply the compressed air. Don’t press the air can with the highest pressure; otherwise, it may damage key joints and their edges.
- Step 2: Gently Wipe The Keyboard And The Edges. Use the damp soft microfiber to wipe the keyboard area and its surroundings.

Note: Don’t forget to power off your laptop before starting the cleaning process. Clean the external parts of your laptop at least once a week.
Laptop Dust Cleaning- Inside
Dust may penetrate the laptop and clog the fans and vents, causing excessive heat to the laptop, which prevents the device from cooling down when needed. If the device is continuously operated without being cooled down, it can overheat internal components. Besides, overheating can also wreak havoc on the hardware, which ultimately leads to malfunctioning. So, be attentive to cleaning up your PC on a regular basis.
Let’s see how to clean the inside of your laptop:
- Step 1: Power Off: Before you start, switch off the power connection and shut down your laptop.
- Step 2: Remove the Battery: Remove the laptop’s battery and store it in a safer place.
- Step 3: Unscrew The Bottom Panel: To get the inside of your laptop, you have to unlock the bottom panel by removing all the screws. So, unscrew the bottom panel of your laptop and keep the frame near you.
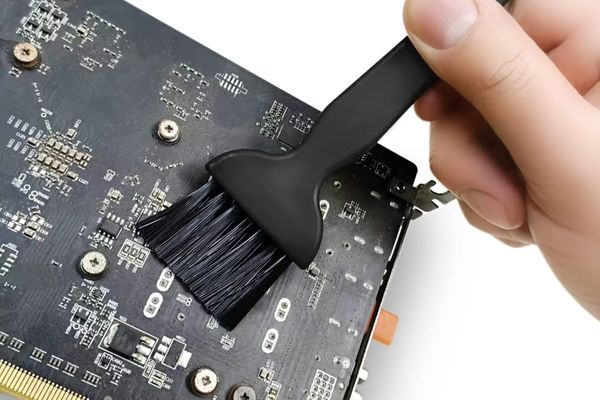
- Step 4: Clear Dust By Using A Soft Bristle Brush And Compressed Air: Gently remove dust webs and particles (if any) with a soft bristle brush, remaining careful about the micro components inside. After that, apply the compressed air to deep clean the inside of your laptop, especially the fan blades and vents. Gently press the compressed air, pointing to specific and hard-to-reach areas. You can also use damp cotton sticks to clean up the edges.
- Step 5: Fix The Bottom Panel: Once you’re done cleaning the inside, carefully screw the bottom panel.
Tip: You should deep clean your laptop once a month. In case you cannot clean the inside, decently point the compressed air can to the cooling vents and spray short bursts from different sides.

Final Words
You should keep your device dust-free, so it functions for a long time, but it might be difficult for you to open a laptop or desktop and separate the removable components to clean up. If you think you can’t do it, then don’t attempt to DIY. Go for professional services/experts to clean it. Remember, using a vacuum may not turn good for your PC’s health! Hope you’ll benefit from this article. Thanks for reading!

